
Recommended

The easiest way to use Keras on GPU with Docker.

Introduction
If you are reading this, you are probably struggling with running your super Keras deep learning models on your GPU. But guess what, I was at the same place a few months ago an I couldn’t find any good tutorial on how to properly set up your Keras deep learning GPU environment. It took me some time, trial & error before I figure out how to utilize my GPU while training models, but I will save you this effort. If you stay with me until the end of this tutorial. You will have a fully working Keras environment on your computer up and running in 1-2 hours. Most of that time you will be waiting while your computer will be processing tasks !!!
Why you want your Keras to use GPU?
First of all, we should ask ourselves a question. Why do we need our Keras to use GPU? The answer is simple: The GPU has more computing power than a CPU. This is crucial when we are building complexed models and train them on large datasets. The most popular example is the Convolutional 2D model to classify images. On CPU training of image, the classifier would take ages but GPU can handle it quicker and more efficient. That is why we need Keras to communicate with GPU.
What do we need?

Operating system :
Choose one from the below. -Linux (Any type will work) -Mac OS (Most updated version) -Windows Professional (Please note that Windows Home edition will not work)
I prefer to work on Linux (Ubuntu or Xubuntu). For me, it is much easier to set up and control the Development environment but… the choice is yours.
Nvidia driver installed :
I believe in Windows and Mac OS you can install it from .exe file downloaded from NVIDIA site LINK. But if you have Linux and you are lazy like me, you can just install it by using the below commands on the terminal.
sudo apt install nvidia-driver-390
And reboot the system.
$ sudo reboot
Docker installed :
If you do not have docker installed on your machine, please stop now.
- Go to this LINK.
- Follow the official Docker installation tutorial
- Check if Docker works properly on your machine
- Go back and follow this tutorial
Docker image of KERAS GPU Environment.
This is a link to Github repository with the most up to date image I use personally to my projects.
Let’s make it work.

Download a Docker image.
Ok, first we need to create a folder on your desktop called ‘DockerKeras’ and download a docker image from the Github repository. We will do it using git but you can also manually download it from Github, create a folder on the desktop and extract repo to this folder.
cd desktop
mkdir DockerKeras
cd DockerKeras
git clone https://github.com/MikePapinski/Keras_Jupyter_GPU_Docker
ls
You should see this folder structure:
Keras_Jupyter_GPU_Docker
│   README.md
│   LICENSE
└───docker
│   │   Dockerfile
│   │   Makefile
│   │   README.md
│   │   theanorc
Update Keras_Jupyter_GPU_Docker/docker/Makefile.
Go to Desktop -> Keras_Jupyter_GPU_Docker -> docker -> and edit file ‘Makefile’ The only thing you can change but do not have to is the DATA parameter
DATA?="${HOME}/data"
you got 2 options:
- Change “${HOME}/data” into the path you want jupyter notebook to read as root.
- Go to your Home directory and create inside a folder called “data”. jupyter will store all the files in there.
Build the containers
Now we are all set to build our containers. Go inside the docker folder and trigger the method to build the containers. Please be aware that if you are building the container for the first time, it can take up to one hour for docker to complete the build.
cd Keras_Jupyter_GPU_Docker
cd docker
make notebook GPU=0 # or [ipython, bash]
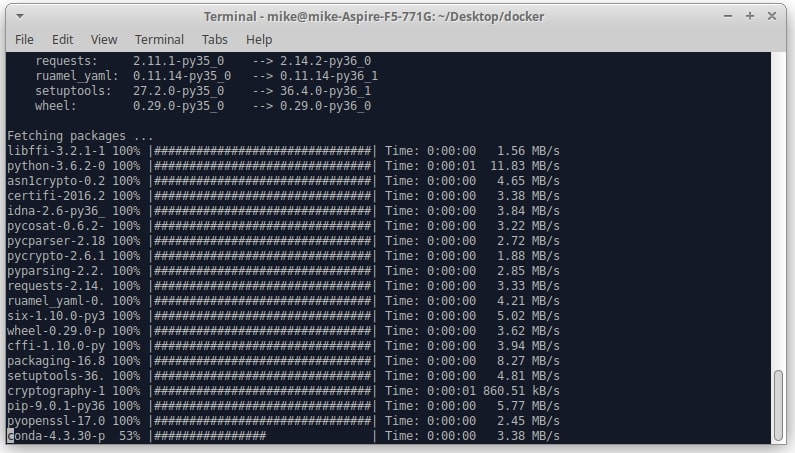
Docker will start downloading all the required packages and you should see something like this on your console.
When docker will finish building the container, you should this:
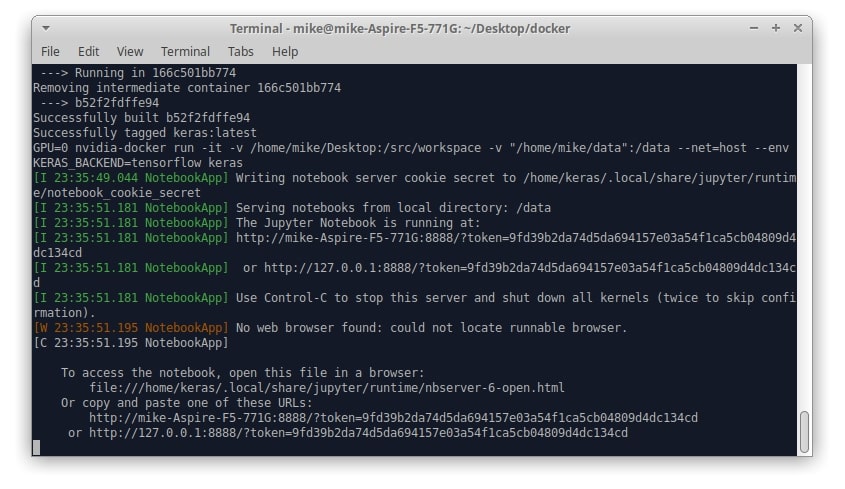
We are almost there…
OK, so now you got your docker container up and running! Just copy the link to your localhost and port 8888 that you will see on the very bottom of the last message on your console. In my case it will be:
http://127.0.0.1:8888/?token=9fd39b2da74d5da694157e03a54f1ca5cb04809d4dc134cd
And paste it to your browser. If you did all the previous steps correctly you should see this page.
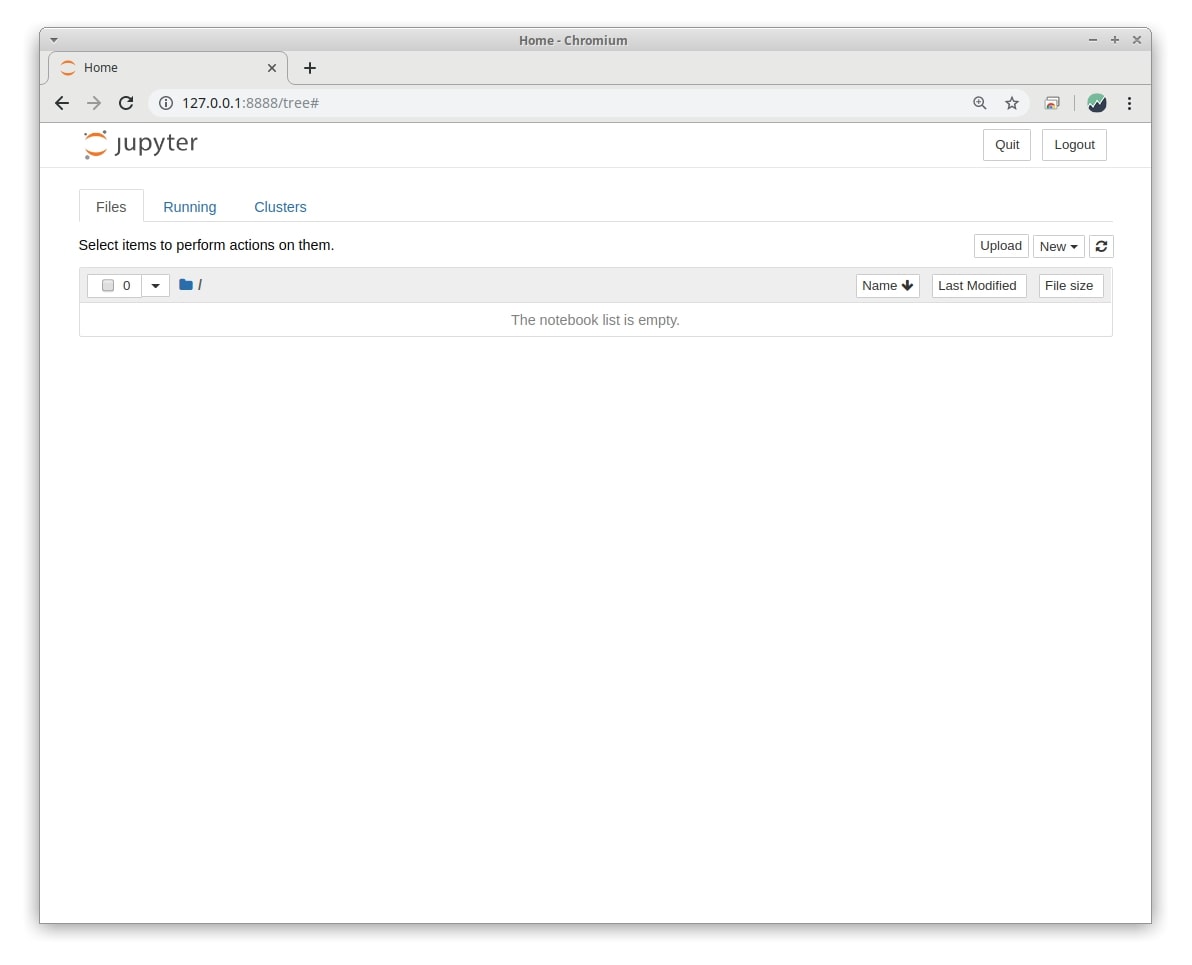
If you see the same screen it means that…
You did it!

OK, you got your KERAS environment fully compatible with your GPU so what now?
Why not test it out right away?
To do that, we will use the most common model for beginners which is already implemented in KERAS library. FASHION MNIST.

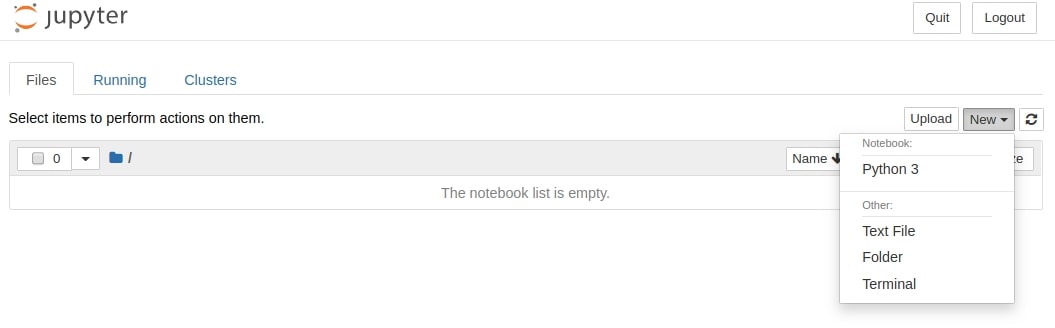
In the Jupyter editor, click on “New” and then on “Python 3”. You will open the new project window.
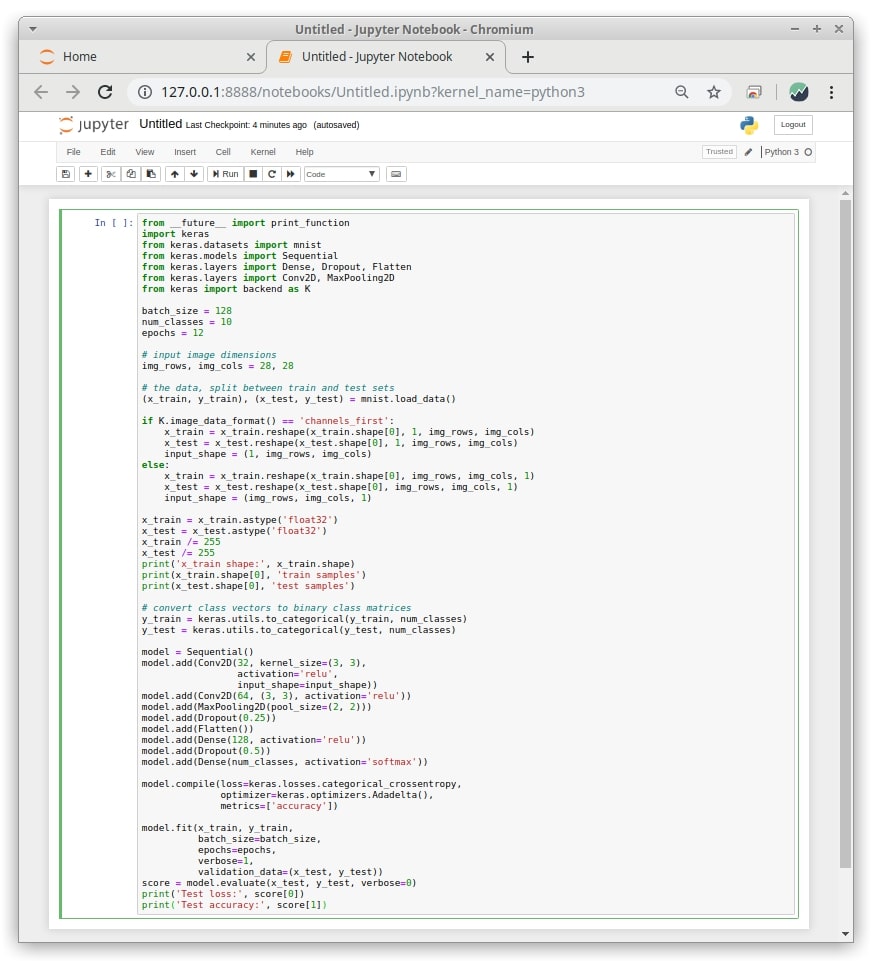
Now copy and paste the below code to the first cell-like on the picture below.
import keras, tensorflow as tf, numpy as np, matplotlib.pyplot as plt
from keras.datasets import fashion_mnist

np.random.seed(1)
tf.set_random_seed(1)

(train_images, train_labels), (test_images, test_labels) = fashion_mnist.load_data()

type(train_images)
train_images = train_images / 255.0
test_images = test_images / 255.0

class_names = ['T-shirt/top', 'Trouser', 'Pullover', 'Dress', 'Coat',
               'Sandal', 'Shirt', 'Sneaker', 'Bag', 'Ankle boot']

fig = plt.figure(figsize=(10,10))
for i in range(25):
  plt.subplot(5,5,i+1)
  plt.xticks([])
  plt.yticks([])
  plt.grid(False)
  plt.imshow(train_images[i], cmap=plt.cm.binary)
  plt.xlabel(class_names[train_labels[i]])
fig
model = keras.Sequential([
  keras.layers.Flatten(input_shape=(28, 28)),
  keras.layers.Dense(3, activation=tf.nn.relu),
  keras.layers.Dense(10, activation=tf.nn.softmax)
])
model.compile(optimizer='adam',
              loss='sparse_categorical_crossentropy',
              metrics=['accuracy'])
model.fit(train_images, train_labels, epochs=4)
test_loss, test_acc = model.evaluate(test_images, test_labels)
print('Test accuracy:', test_acc)
And click on “Run”. After that, our Fashion MNIST model will start to train. Please note that preparing GPU for the session usually takes some time for the first time, more or less than 5 min. After we the GPU will be prepared for the tensor training, It will launch in a few seconds every next time you train the model.

We can now see that the model was trained successfully to 0.6947% accuracy. There are much better models for this dataset if you want to look, but our model was only for demonstration purposes.
Few tips for Linux users!
How to check if the training process goes on GPU?
if during the training of the model you will type to your console:
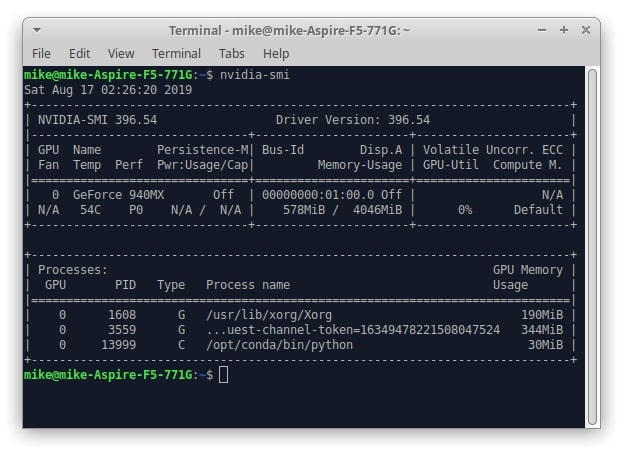
nvidia-smi
You will see the status of your GPU. If under Processes, you will see the process with type “C” and “/opt/conda/bin/python “, it means that you the Keras model training process is using your GPU.
How to check my CPU consumption during training/data loading?
Type to you console:
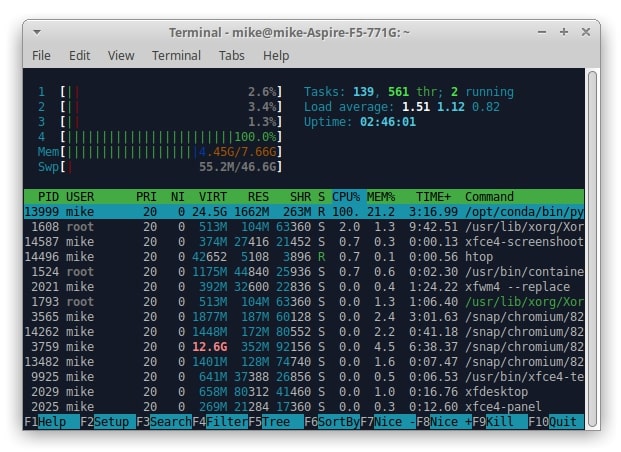
htop
You will see the current status of all your CPU usage.
This is the very end of this tutorial.
I wish you great ideas and great Deep Learning projects with your new build Keras GPU environment.

ps. If you want to quickly open the jupyter notebook.
Just open the folder with file “makefile” and run this command inside.
make notebook GPU=0 # or [ipython, bash]
Like my stuff?
Leave a comment.
Get in touch.